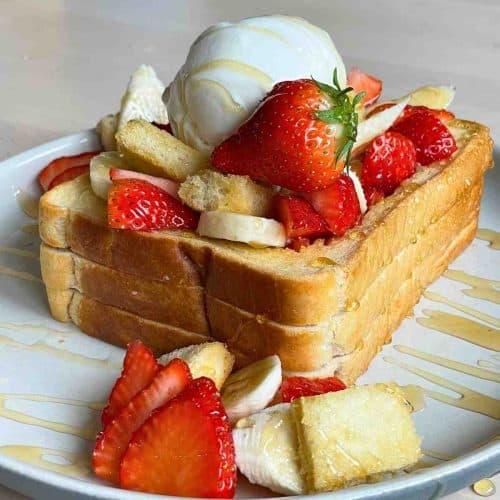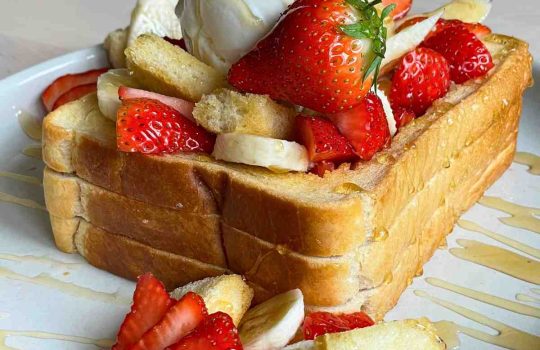
Japanese Honey Toast Recipe: Recreate Shibuya Toast Box
Honey toast or Shibuya toast box is a delicious yet surprisingly easy dessert. The sweet...


Reader's Favourite

- Thai Iced Tea Recipe from Scratch: Mix or Spices
- Brown Sugar Milk Tea Recipe, Make Tiger Boba or Mudflip Tea
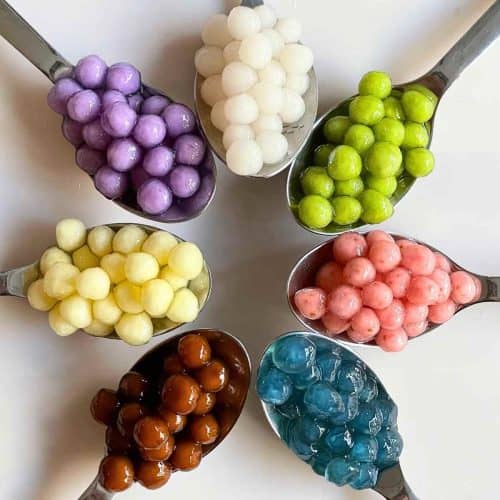
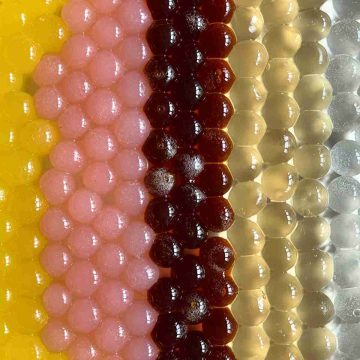
- Popping Boba Recipe (+Video) with / without Sodium Alginate
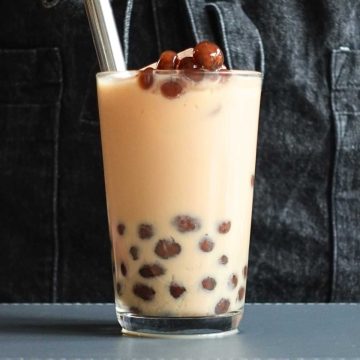
- How to Make Bubble Tea (Boba Milk Tea) At Home
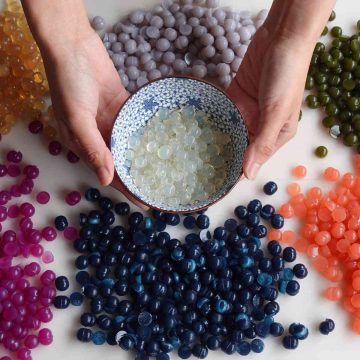
- Crystal Boba: A Tapioca Pearls Alternative Using Agar Powder
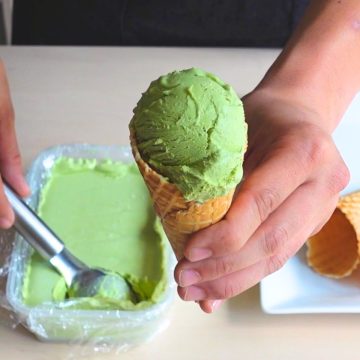
- Matcha Green Tea Ice Cream Recipe (3 Ingredients)
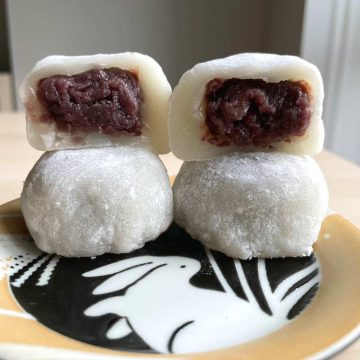
- Red Bean Mochi Recipe: How to make Daifuku
- Korean Corn Cheese Recipe 4 ways: Stove, Air Fryer, Oven or Microwave


Interviews

Q&A With Janice Wong, renowned pastry chef and chocolatier
Janice Wong's culinary journey began when she pursued a degree...

Q&A with Natalie Chiu, Founder of Saicho Sparkling Tea
Born and raised in Hong Kong with a PhD in...

Q&A with Taeyeol Kim, Founder of Ogam Tapas Bar
Ogam Tapas bar is an independent Korean bar based in...

Trending
More Delicious Reads
- Monjayaki, the Lesser Known Japanese Savoury Pancake
- Japanese Honey Toast Recipe: Recreate Shibuya Toast Box
- Easy Japanese Hamburger Steak Recipe
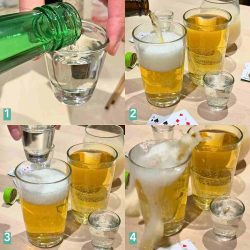
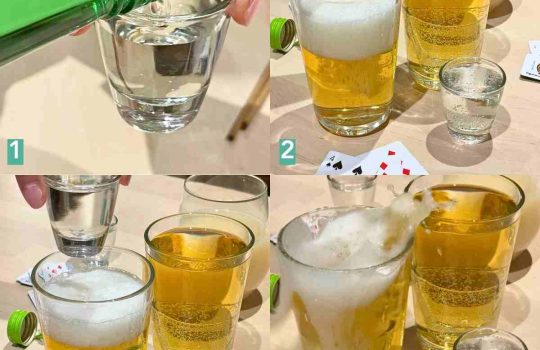
- Soju Bomb, Somaek, or Somaekcol? Master These Korean Drinks and Games
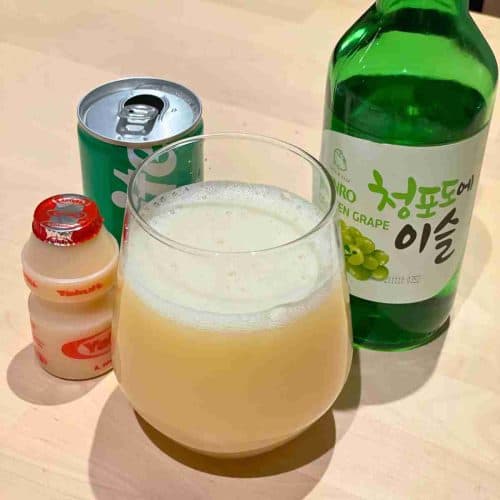
- Easy Yogurt Soju Recipe (Yakult + Soju + Sprite Mix)
- Easy Rose Tteokbokki Recipe (Creamy and Mild)
- Make Shrimp Chow Mein (Cantonese Style) In Less Than 20 Minutes
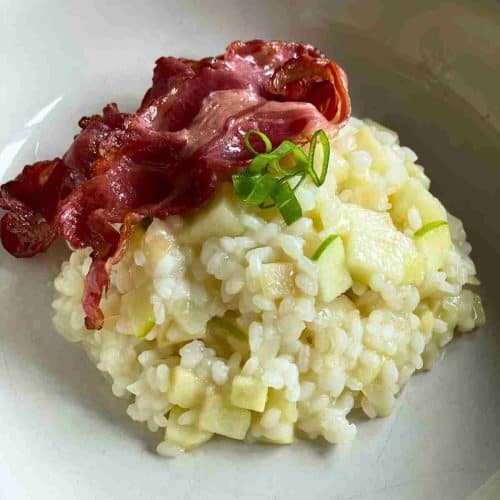
- Best Apple Risotto Recipe From Food Wars
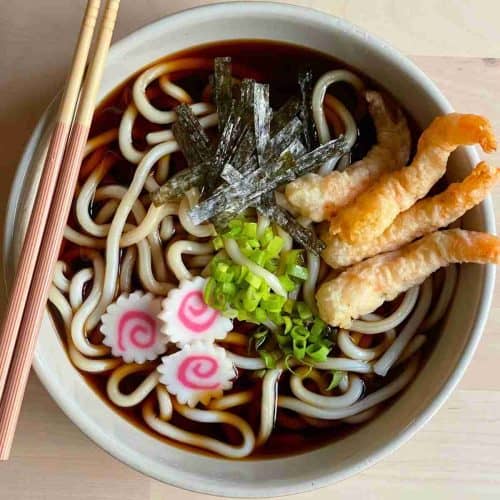
- Simple Tempura Udon Soup Recipe with Shrimp and Vegetables
- Okinawa Milk Tea Recipe From Scratch or Powder Form
- Easy Air Fryer Spring Rolls Recipe
- Easy Harumaki Recipe (Japanese Spring Roll)
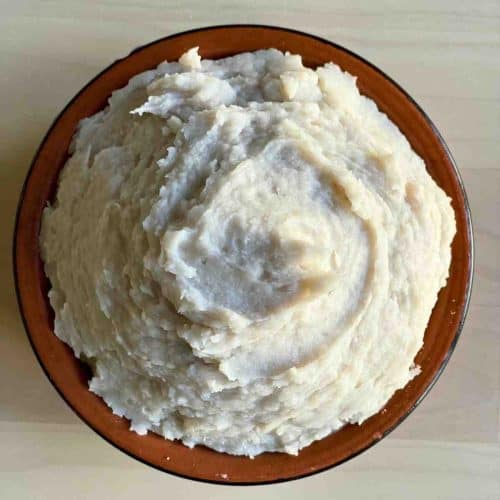
- Easy Taro Paste Recipe
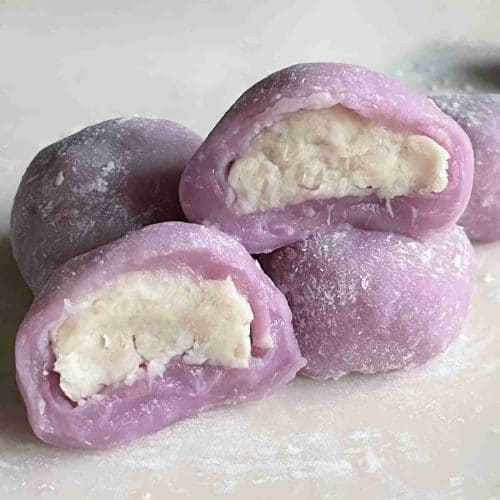
- Easy Taro Mochi Recipe using Milk Tea Powder
- Taro Milk Tea Recipe 3 Ways: Real Taro Or Powder
- Easy Dorayaki Recipe (Custard, Chocolate, Matcha, Red Bean or Oreo)