Wagashi are traditional Japanese sweet delicacies commonly enjoyed with green tea. Among the many types, nerikiri is one of the oldest traditional Japanese treats.
The history of wagashi started in the Meiji period. Back then, the term was coined to differentiate Japanese and European desserts. Hence, its literal meaning is "Japanese sweets" or "Japanese snacks".
These Japanese treats are sweet and come in many forms. They can be chewy, fluffy, soft, sticky and crunchy.
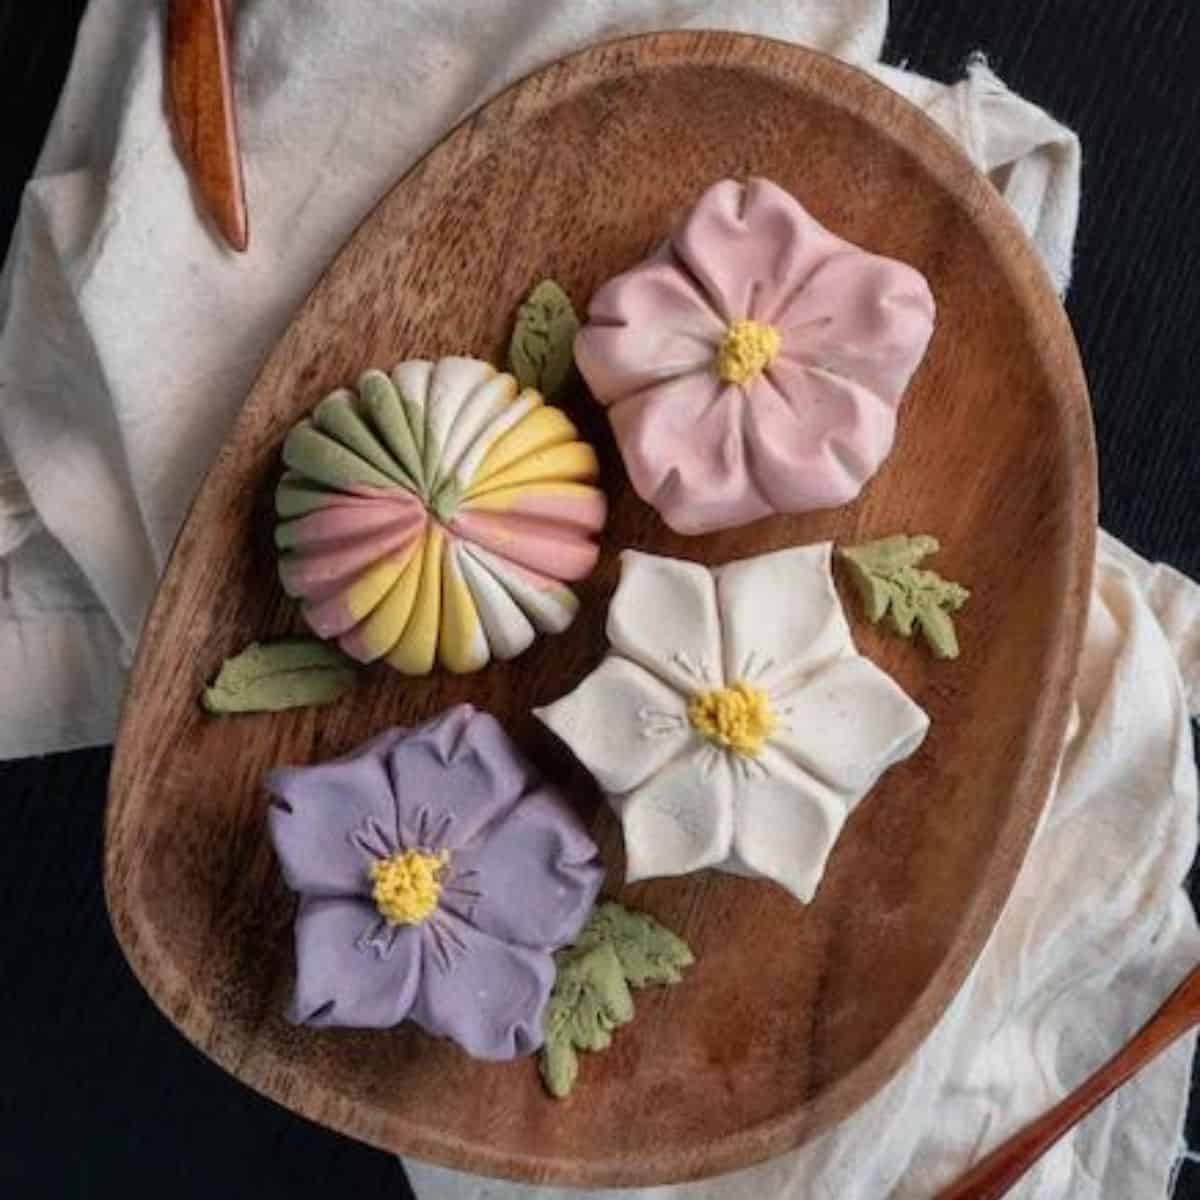
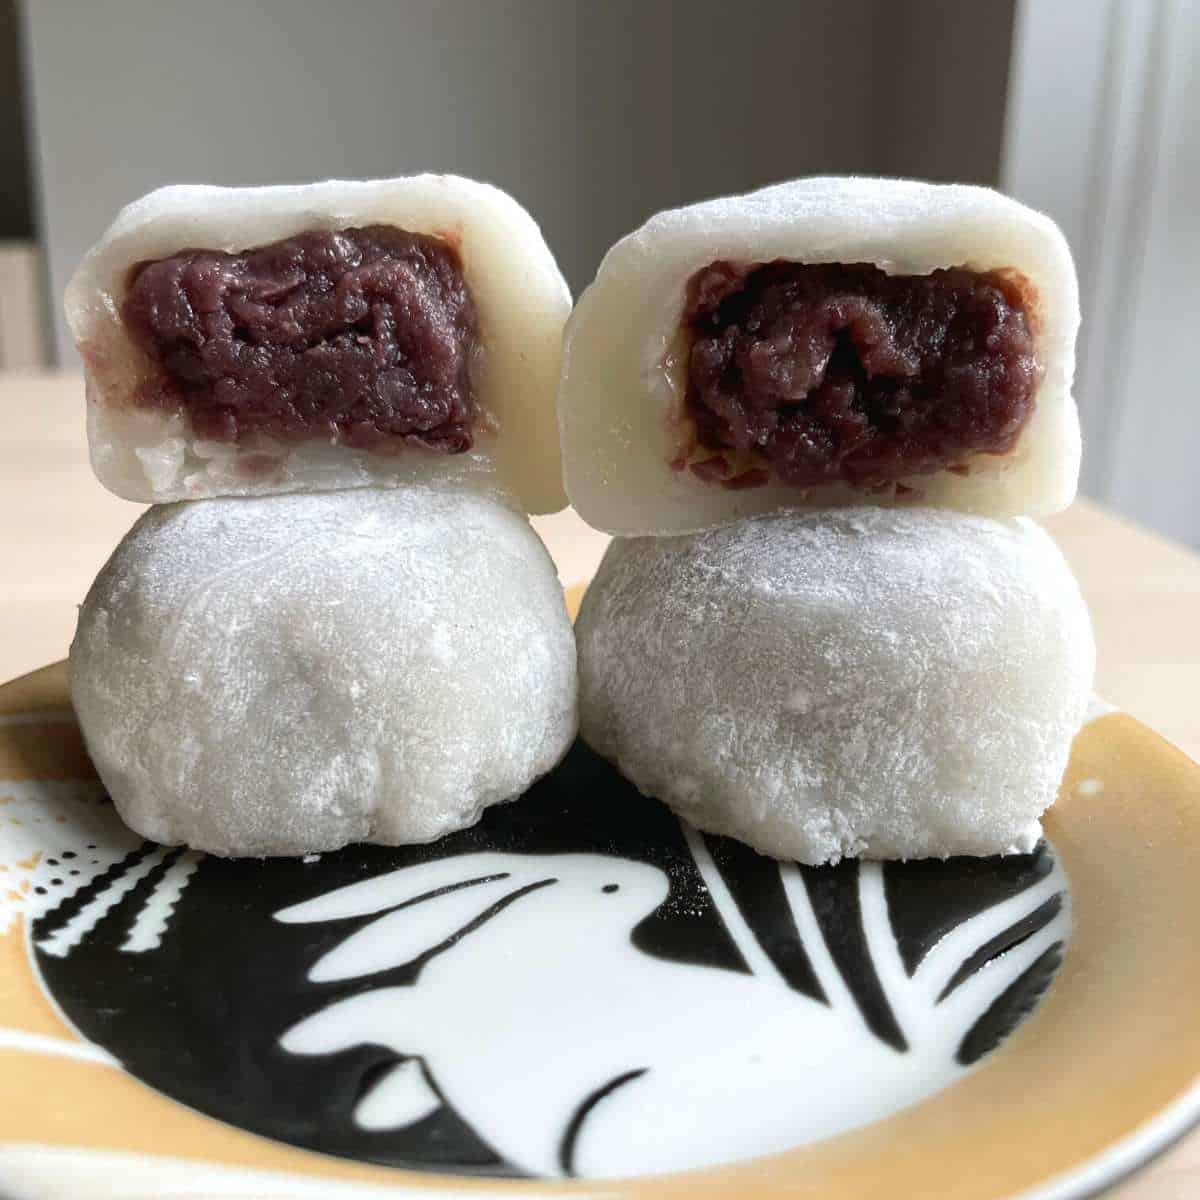
The makers of these treats make them using various ingredients and preparation methods. However, most Japanese sweets have one common ingredient: sweet azuki bean paste or Anko.
With the consistency of peanut butter, the sweet red bean paste can either be koshian (smooth) or tsubuan (chunky). Other commonly used ingredients are sesame paste, agar, glutinous rice flour and Kinako or roasted soybean flour.
While some wagashi are only available regionally or seasonally, you can still find some all year long. Moreover, certain traditional Japanese sweets are only for special occasions. On the other hand, the other treats are for any time, anywhere.
In our recipe, we'll tell you all about Japan's most beautiful traditional treat, Nerikiri wagashi. Of course, there is no denying that some edible art can be pretty disappointing in terms of taste. But we can guarantee that this sweet Asian candy will not disappoint you.
So keep reading, and we'll show you the tips and tricks in making it in the comfort of your own home!
Jump to:
Types of wagashi
There are countless types of wagashi in Japan. However, each is unique and delicious in its own way. The Japanese usually categorise them into the desserts' preparation methods or moisture levels. But these are generally the most popular ones:
Out of all these traditional Japanese desserts, Nerikiri wagashi is the most old-fashioned dessert. Therefore, it represents traditional Japanese wagashi.
What is Nerikiri Wagashi?
Nerikiri wagashi is a chewy Japanese dessert consisting of Shiro-an, which means white bean paste and sweet glutinous rice flour. Since the dough's texture is like clay, you can easily hand-mould it into different beautiful shapes. Despite that, crafters might also use specific tools to make complex patterns on the Nerikiri.
Nerikiri is the most beautifully and meticulously handcrafted of all wagashi desserts. In addition, the dessert's design often reflects the different seasons. This makes the treat especially popular during Spring. They come in floral shapes and patterns, such as sakura.
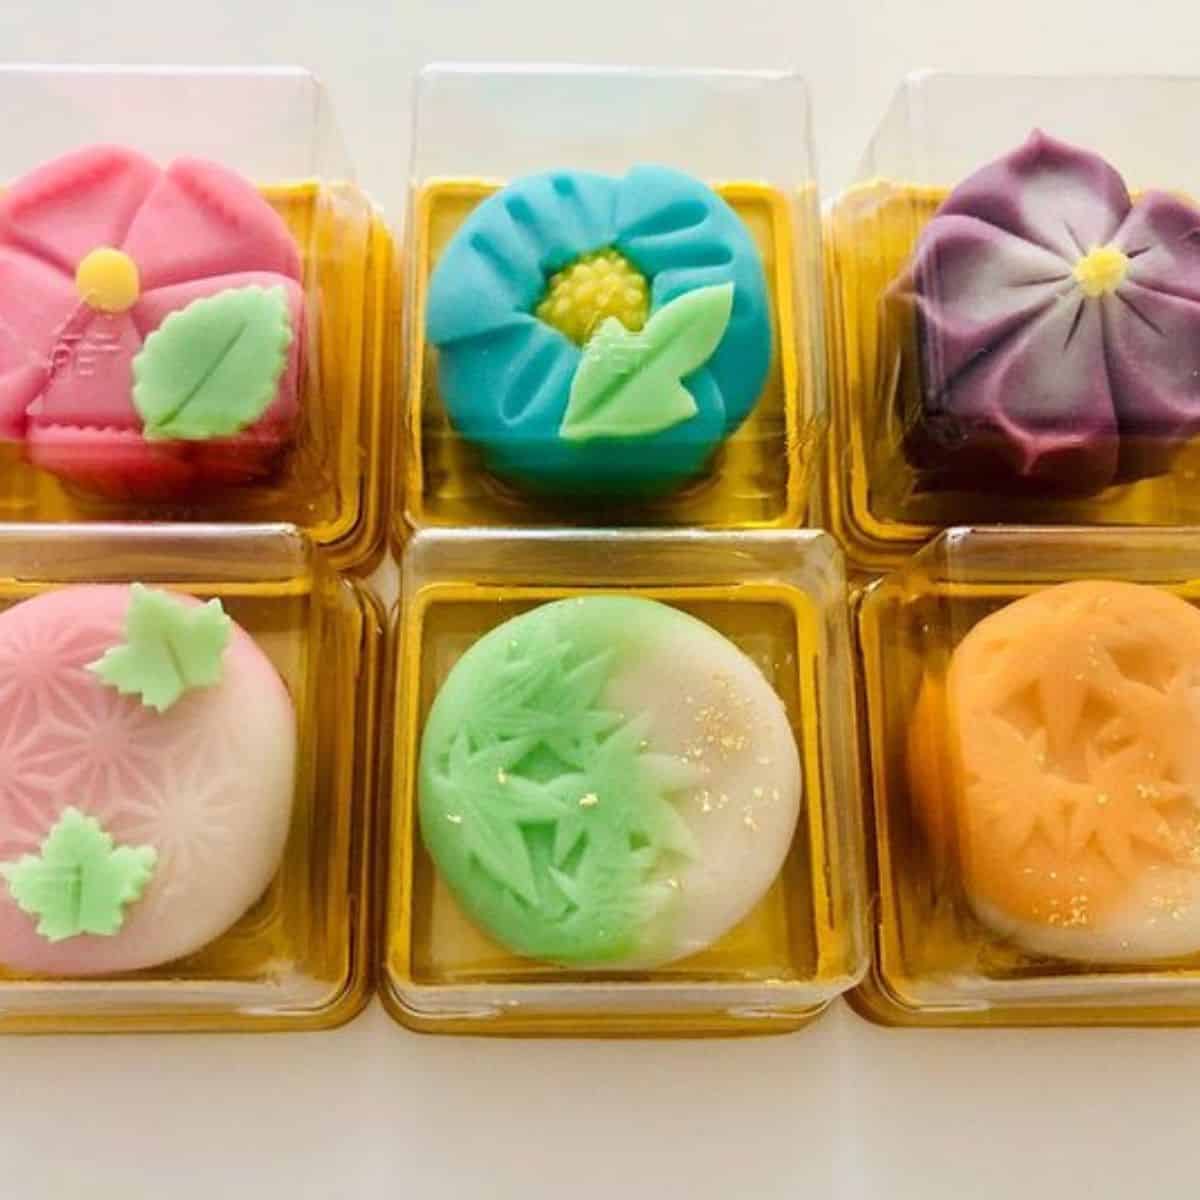
But the sweet treat also allows room for creativity. You can make it into any design based on your visions. Interestingly, other art forms like poetry can also influence its' shapes and patterns.
Nerikiri isn't only pleasing to the eyes but also to your tastebuds! The soft, smooth, and chewy rice cake pairs well with the white bean paste filling. It is not too sweet and just enough to give the dessert a pleasant and light flavour.
Thus, it makes a lovely dessert even for those who don't like very sweet things. It is also one of the best vegan Japanese snacks since all its ingredients are vegan-friendly.
How to enjoy it?
This colourful wagashi is usually served at tea ceremonies since it goes well with tea, especially matcha. The dessert is slightly sweeter than other traditional Japanese treats. So, it complements green tea's strong bitterness.
However, Japanese people usually only eat the dessert after drinking the tea instead of consuming them at the same time. This balances out the flavours.
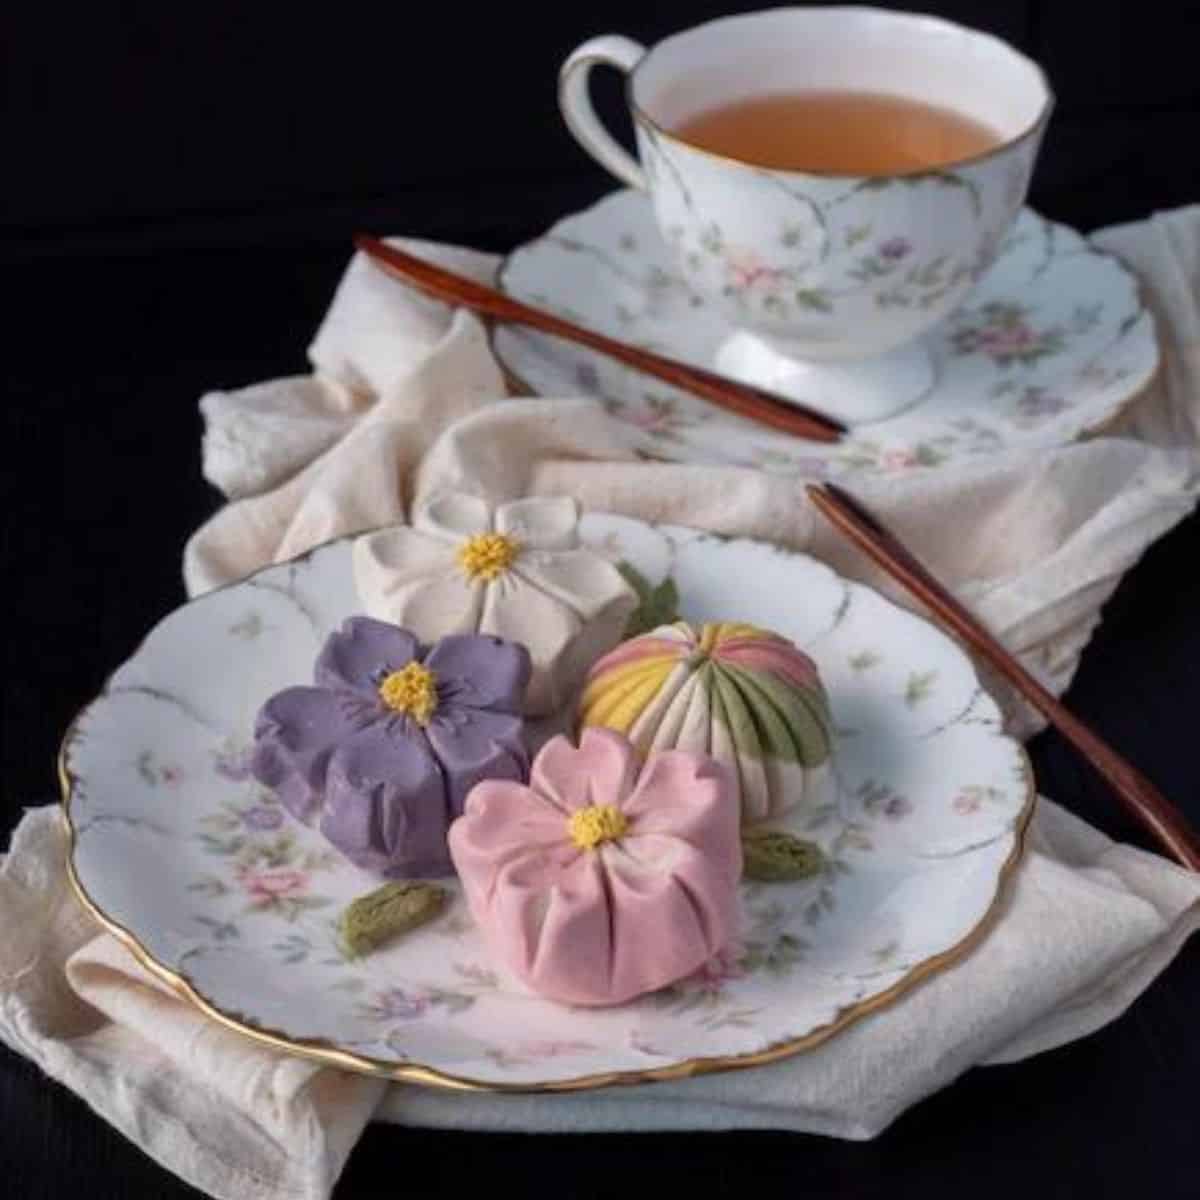
For non-tea lovers, you can also have it with a nice cup of coffee. Like coffee and cake is a popular breaktime treat, coffee and Nerikiri wagashi also make a harmonious flavour combination. Some even prefer to enjoy the faintly sweet dessert on its own or along with other Japanese snacks.
Nerikiri Wagashi ingredients
To make Nerikiri wagashi, you will need:
- Lima beans
- Sweet rice flour or Shiratamako
- Water
- Granulated sugar
- Salt
- Food colouring
Unlike red bean paste, white bean paste can be hard to find outside of Japan. So, you can also use Lima or Navy beans instead to make it from scratch. You need to soak the beans for at least 12 hours with their skin peeled before you are ready to prepare the dessert.
Be sure also to use a 50/50 ratio by weight of sugar and beans to make the paste. You can also use Cannellini canned beans, but you'll find that the colour will be slightly beige instead of white.
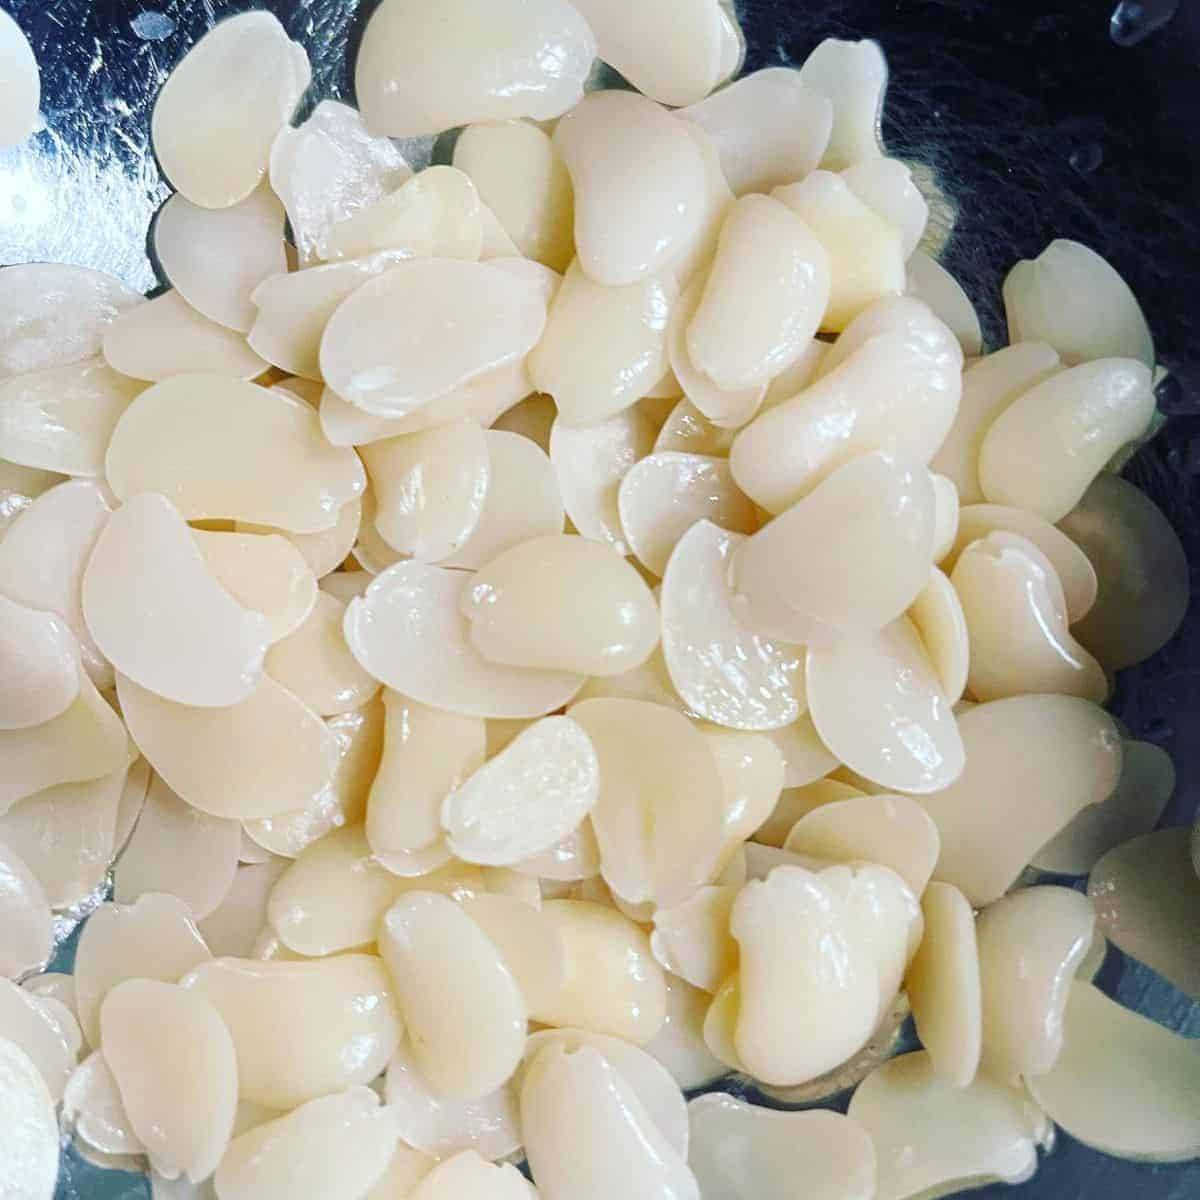
Any glutinous rice flour will work in making the Japanese wagashi. However, people in Japan commonly use Shiratamako, which is sweet glutinous rice flour. You can find it in both online and offline Asian markets if you wish to make a more authentic dessert.
You can also use Mochiko as a substitute if you can't find Shiratamako. However, it might take a bit longer to cook and make your wagashi have a slightly different texture.

To get the colours, it is safer to use gel or powder food colouring to avoid ruining the texture of the Nerikiri. However, liquid food colouring might require you to adjust the water content in the Nerikiri dough.
Apart from that, we also recommend using natural food colouring. For instance, you can use spirulina powder for blue, beetroot powder for red, and matcha powder for green. Apart from being healthier options, they will also make it more fragrant and flavourful.
Nerikiri Wagashi tools
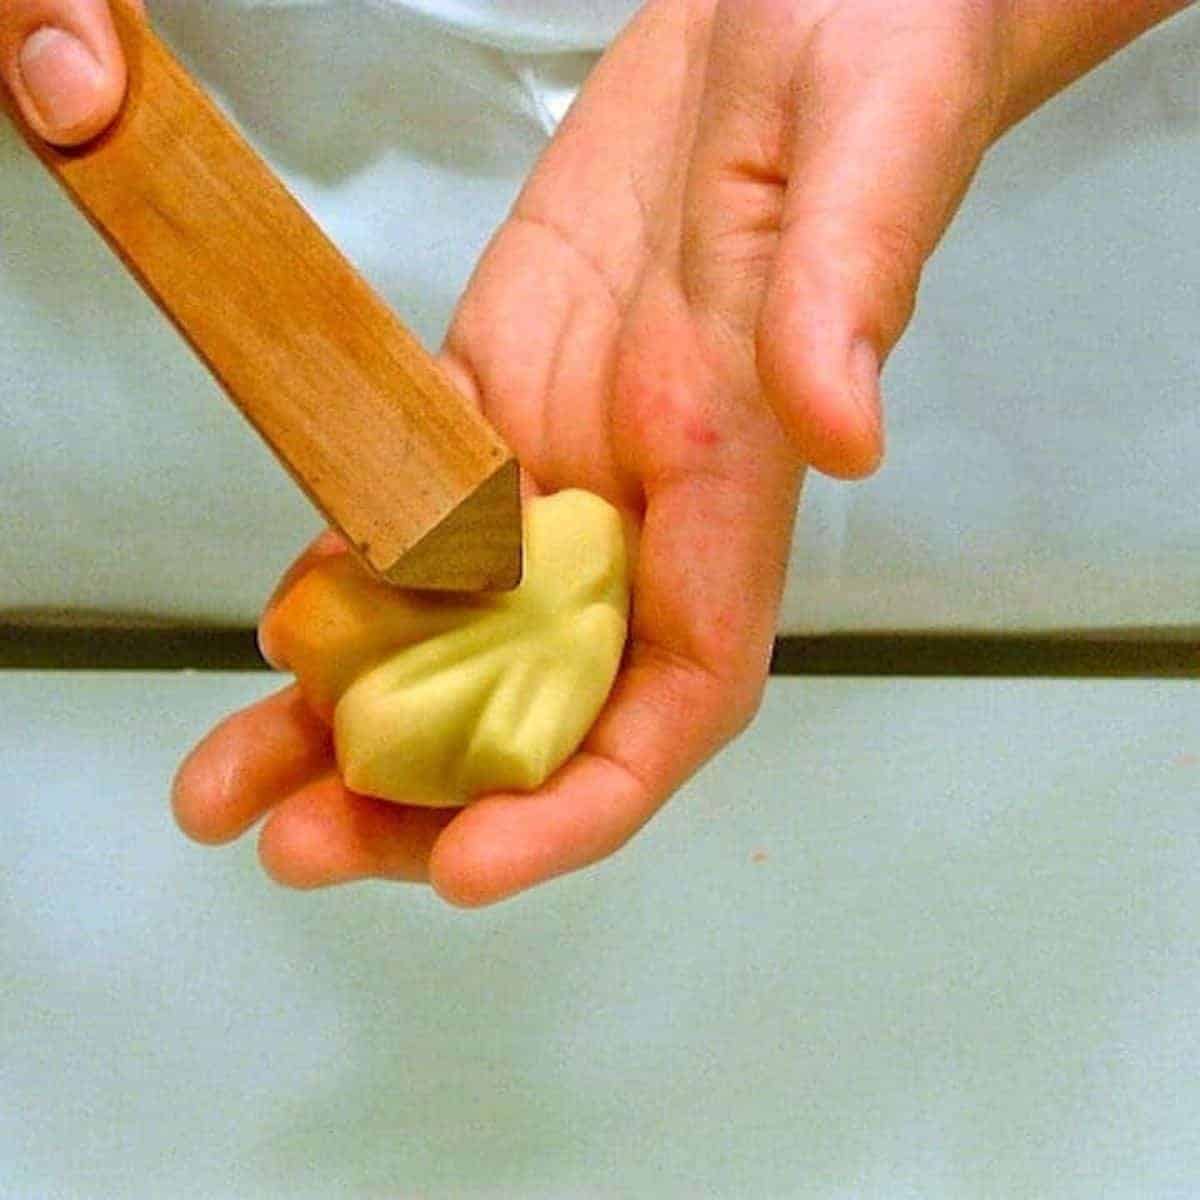
What's unique about this wagashi is that the dough is a pliable paste that you can easily mould by hand. However, Japanese dessert makers also use special tools to make intricate motifs.
Sankaku-bo is a traditional tool for Nerikiri crafting. It is a wooden triangle stick with three different shapes in one that you use to make wagashi designs. However, it can be hard to find internationally since this tool is usually passed down through generations. Even if you manage to find one online, it can be extremely expensive!
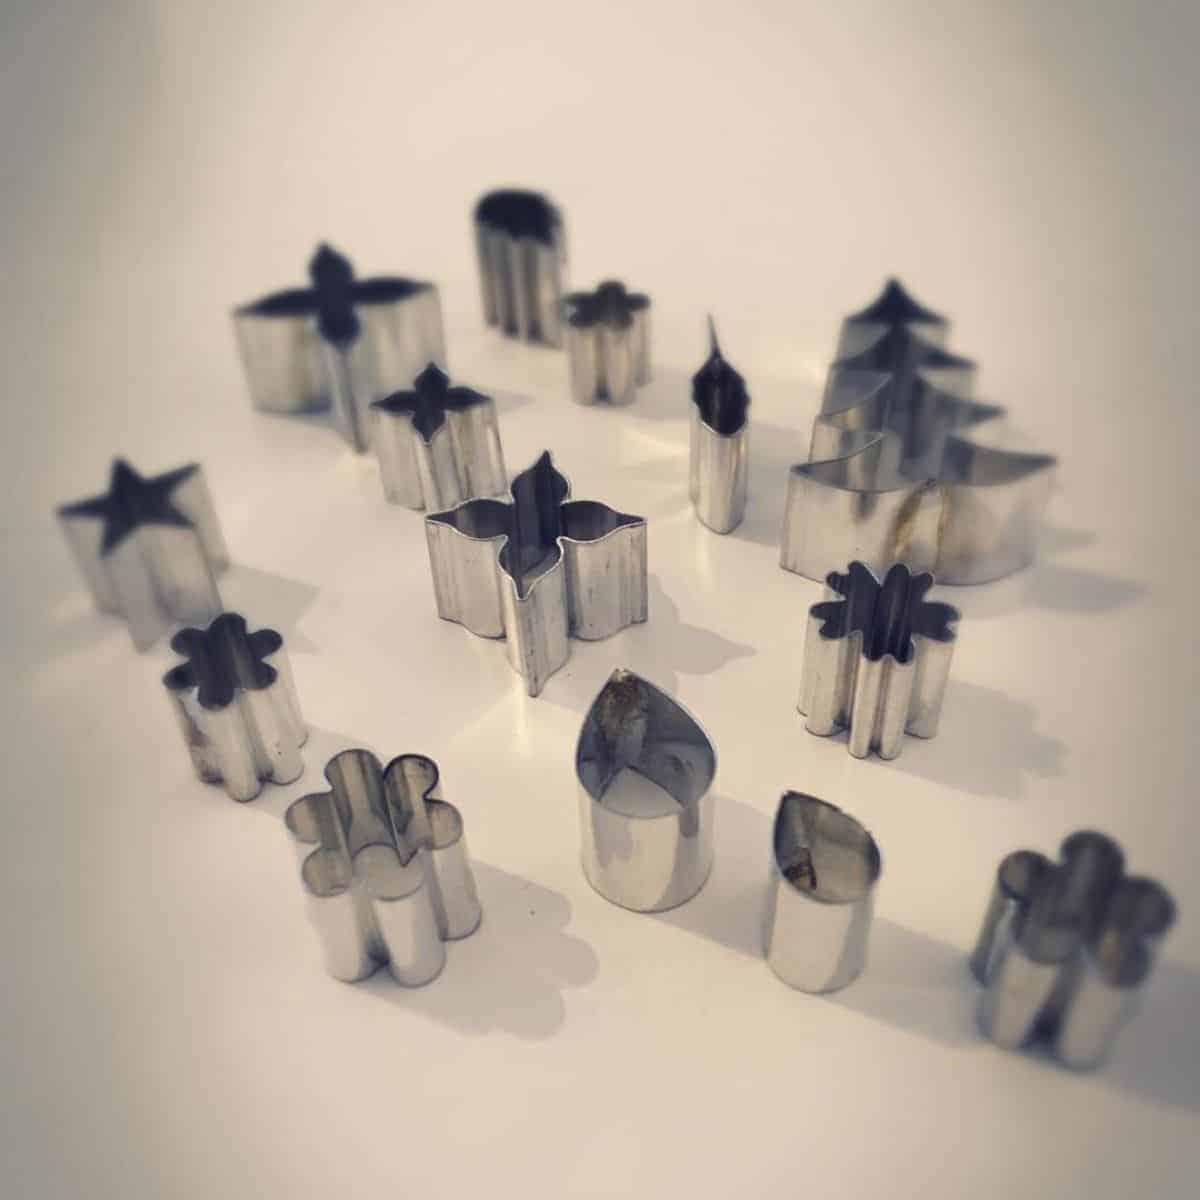
You don't have to spend much money just to make pretty wagashi, though. Alternatively, you can use plastic cake moulding tools, which will do the same job just fine. Compared to Sankaku-bo, they are cheaper and easier to find.
In addition, they come in different shapes, allowing you to create various designs for the Wagashi dessert. Other than that, you can also use chopsticks and forks to make the patterns you want.
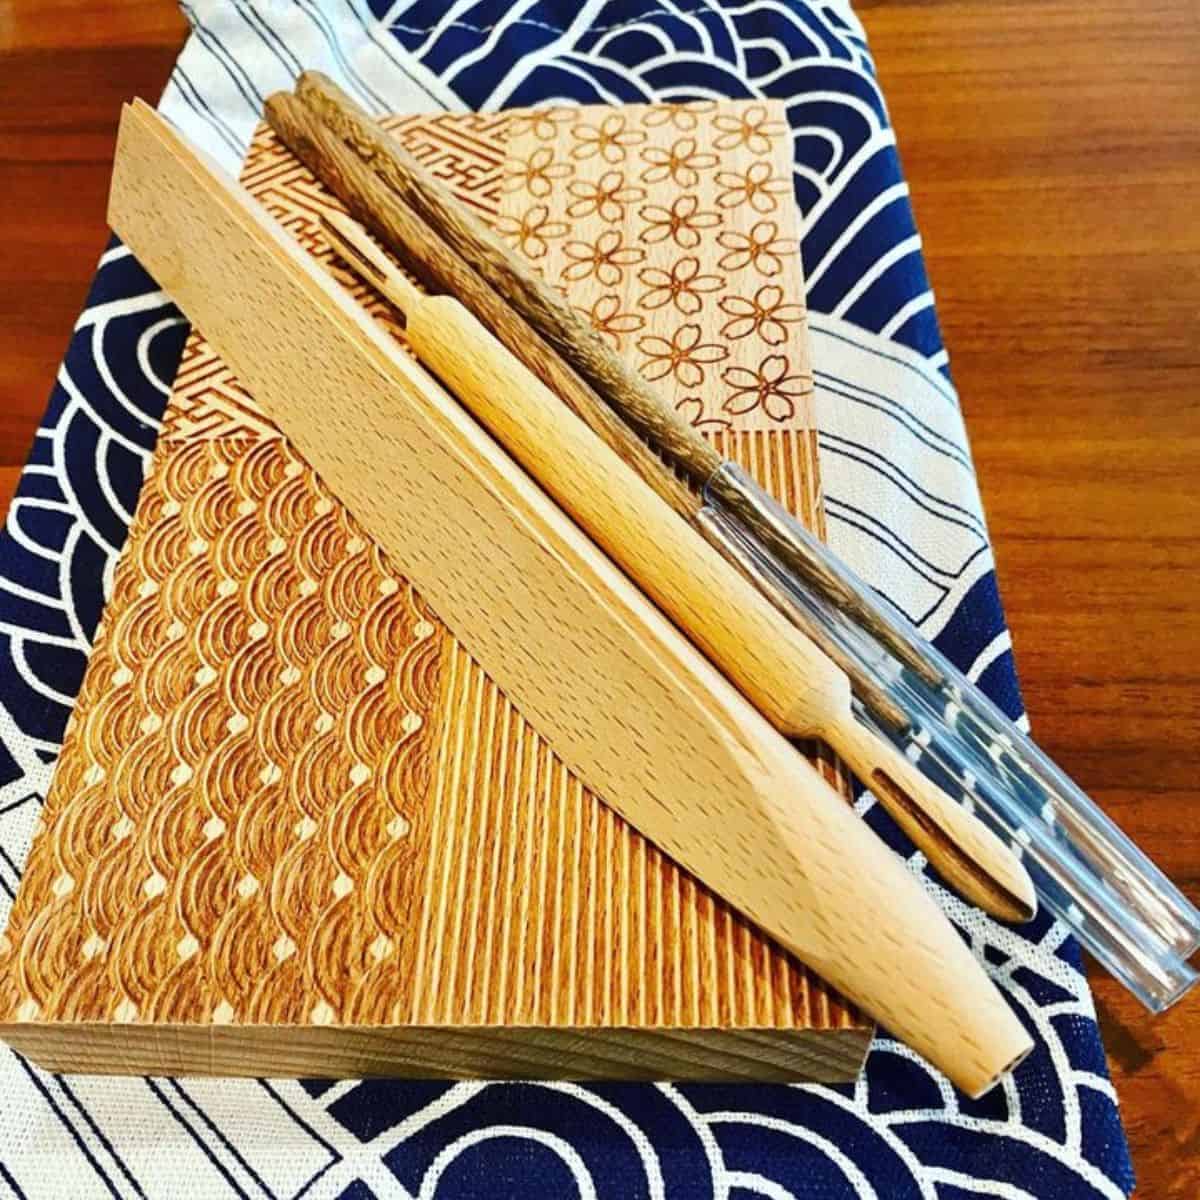
Traditional wooden moulds are used for more complicated shapes. However, similar to Sankaku-bo, they are hard to find and very expensive since most of them are handmade. Thus, we recommend using plastic wagashi moulds if you still want your sweets to have pretty shapes like the cherry blossom.
However, these moulds are not as detailed as the traditional moulds that would make unique sets of treats. Therefore, your wagashi will have only basic or standard shapes with fewer details.
How to make Wagashi nerikiri
Preparing this sweet treat is so easy that you can even make it from scratch at home. So you don't have to wait for your next Japanese snack box order to get a taste! The process of making it at home mainly involves preparing the white bean paste, making the dough, and shaping it.
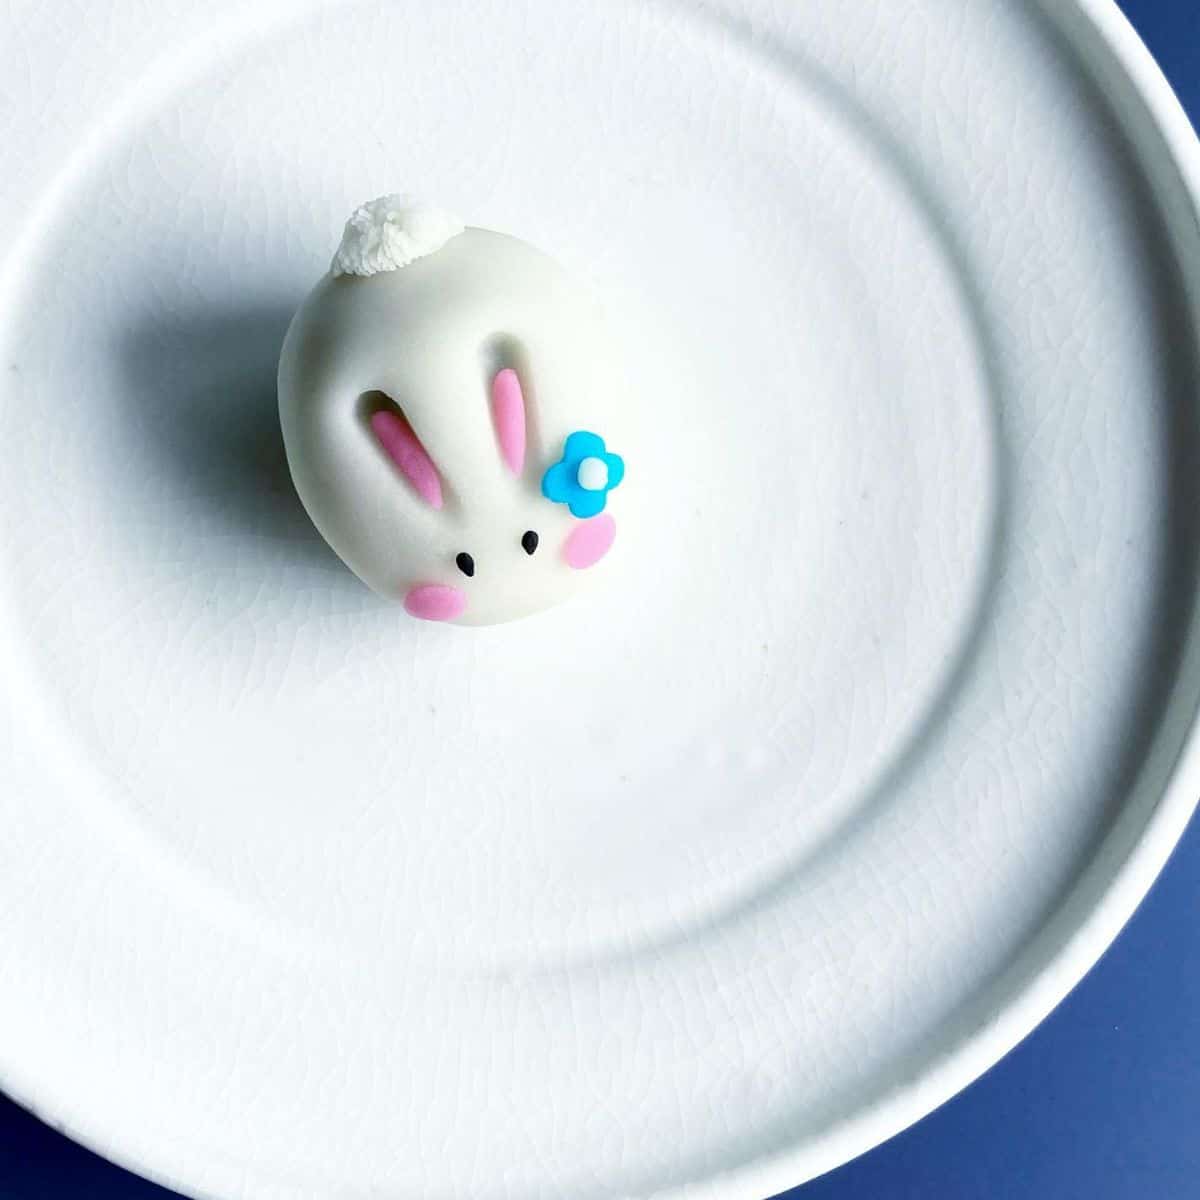
You first make the white bean paste, or Shiro-an, by mashing beans and cooking them with sugar. Then, you prepare the Nerikiri dough by mixing glutinous rice flour with water and adding the Shiro-an. This mixture needs heat to turn it into a dough. Therefore, you cook the mixture in a pot until it becomes a dough. Then, you cool the dough and mould it into any shape you want.
Shapes and Colours
Some of the most common shapes of the wagashi are the sakura, leaf shape, and round. Making the round Nerikiri is the easiest! All you have to do is make the dough into a ball!
But if you wish to try and make another shape, the sakura is easy for beginners. It does not require much. Just your hands and a chopstick to make the petals!
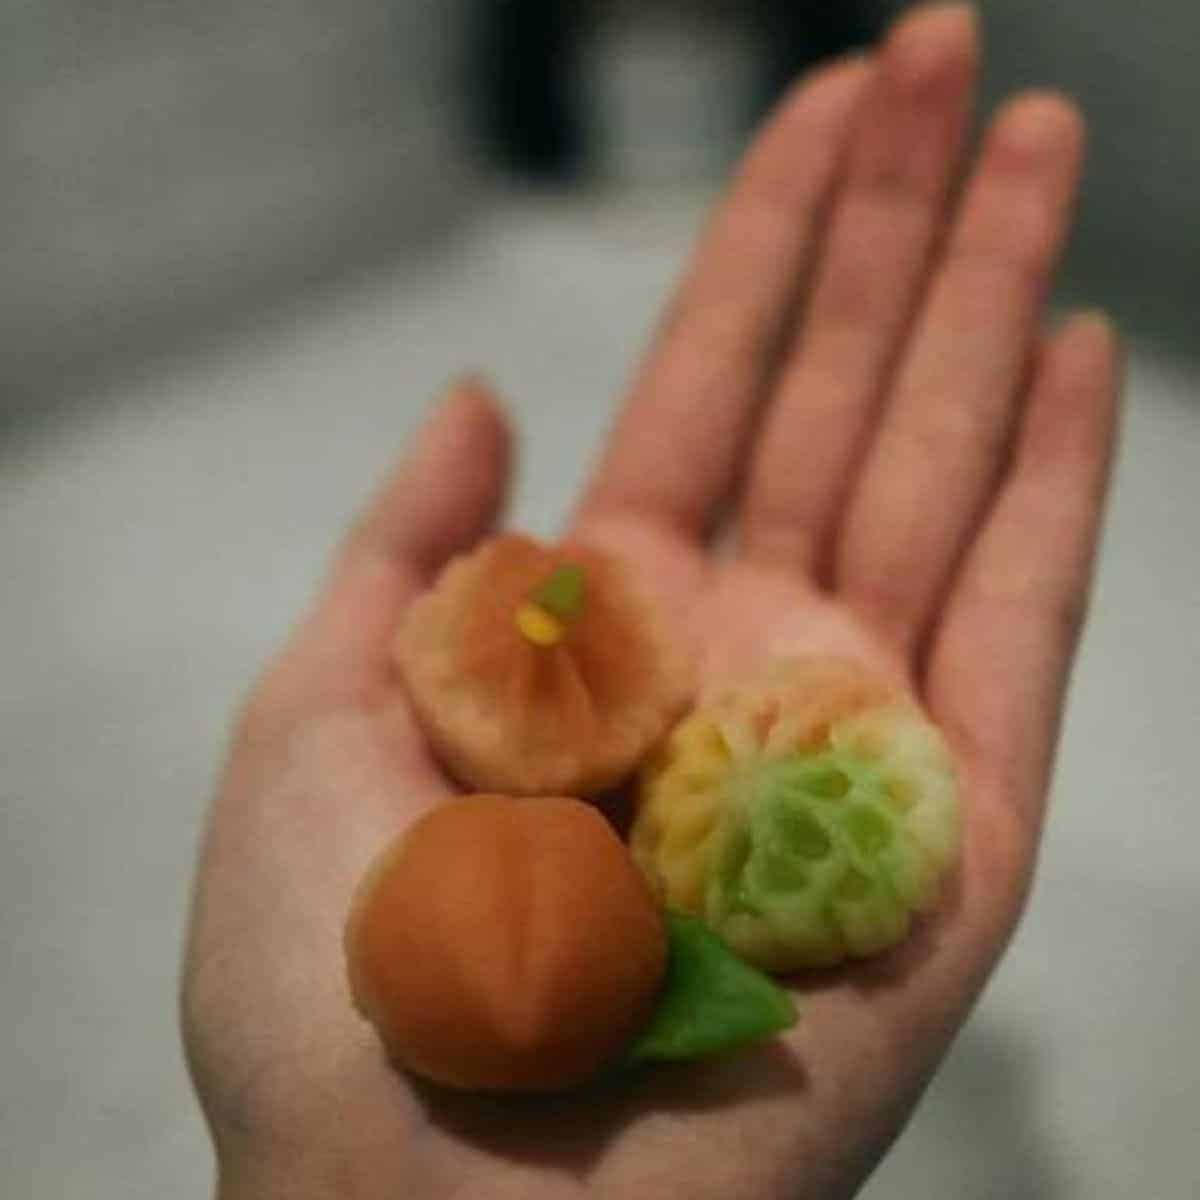
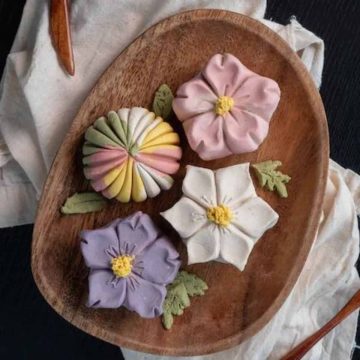
In crafting floral Nerikiri, the Japanese typically use bright colours like purple, pink and green. In contrast, round-shaped Nerikiri is usually black, brown or other dark colours. Despite being traditionally made this way, there are no strict rules in colouring the wagashi.
Many dessert-makers have tapped into their creativity to make stunning sets of Nerikiri with a wide range of colour palettes. These days, you can even find rainbow and ombre Nerikiri!
Wagashi Recipe (Japanese Nerikiri)
Ingredients
To make the Shiro-an
- 8 oz soaked lima beans
- ¾ cup granulated sugar
- ¼ teaspoon salt
To make the Nerikiri Dough
- 1¼ tbsps sweet rice flour
- 1½ tsps sugar
- 1 cup Shiro-an
- 1½ tbsps water
- Food dye (optional)
Cooking Instructions
- Put the soaked lima beans in a large pot and pour enough water just to cover the beans. Let it simmer for about 2 hours or until the beans are soft. Then, drain the water and blend or mash them until they become a paste. Transfer the bean paste in batches to a fine-meshed strainer and press them through it using a spoon or spatula.
- Add sugar, salt and the white bean paste into a medium saucepan and cook on medium-low heat. Stir the mixture for 15-20 minutes until it becomes malleable or until the sugar dissolves. Next, turn off the heat and transfer the white bean paste into a container.
- To make the Nerikiri dough, mix glutinous sweet rice flour, water, and sugar in a pot over medium-low heat. Then, add the white bean paste into the mixture and mix well. Continue to mix until it turns into a tacky, mouldable dough.
- Remove the dough from the heat. Stretch and fold the dough in a damp cheesecloth 20 times. Then, divide it into small pieces to speed up the cooling process. Once the divided pieces are cooled, place them in separate bowls to colour with food colouring.
- Lastly, shape the wagashi into different forms. Serve and enjoy!
Recipe Notes
- You can also cook the Lima beans in a pressure cooker for 15-20 minutes instead of simmering them in a pot.
- Keeping the Nerikiri dough under a damp cloth is essential since it can get dry quickly. It should not be exposed to air for too long. Otherwise, it will harden the dough and make it hard to shape.
- Make sure to remove water from the white bean paste before mixing it with the dough. Too much water content can also make it hard to shape the Nerikiri dough since it is too soft and watery.
- You can use Cannellini canned beans to replace Lima beans for the bean paste. Soak the beans for 10 minutes and transfer them to a fine-meshed strainer to drain before rinsing in running water. Mash the beans using the back side of a flour sifter, leaving behind the skin on top of the sifter. Lastly, heat the sugar and beans until all the sugar has melted and turned into a non-sticky, dry paste.
- Instead of cooking the dough in a pot, you can also heat it up in a microwave for a quicker process. First, mix glutinous sweet rice flour and sugar with water in a heat-resistant mixing bowl. Then, mix the white bean paste into the mixture and heat it in the microwave for about 30 seconds. Next, heat it 3-4 times until the mixture becomes a dough.
- Prepare some cooked glutinous rice flour and vegetable oil to prevent stickiness when making Nerikiri.
Nutrition
Calories have been calculated using an online calculator. Nutritional information offered on Honest Food Talks is for general information purposes and is only a rough estimate.
Did you try this recipe? Share your experience on Instagram and tag Honest Food Talks @honestfoodtalks! We look forward to your reviews, and do follow us there for more delicious content!

Leave a Reply